Showing posts with label #Sizzix dies. Show all posts

Monday, January 1, 2024

New Year, New Release of New Dies (Sort of) with Loads of Inspiration

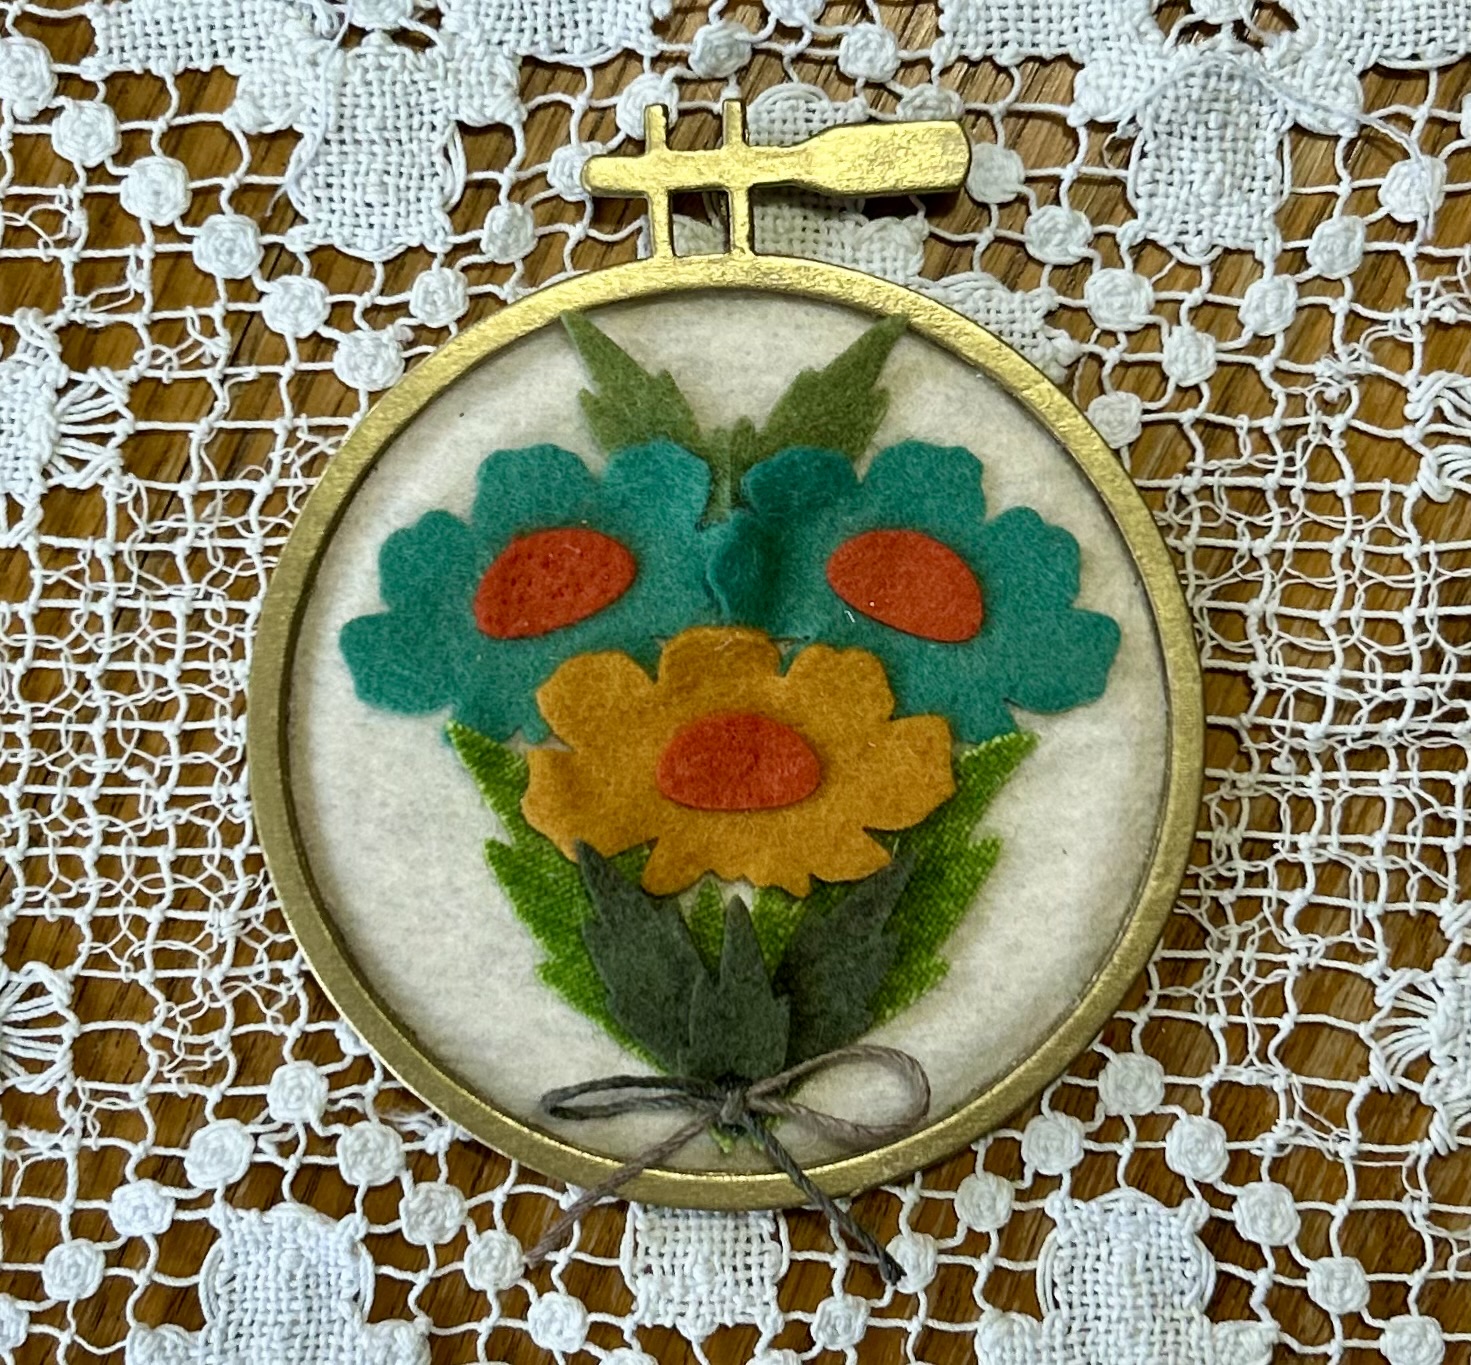
  Eileen Hull Designs has a new release of dies to share. Actually it is a te-release of some vintage dies.  Here are images of the dies. I was a fan of these dies the first time around.  One in particular as has been a very favorite of mine, more about that to come.  


The cantilever sewing box brings back memories for me too because my mother also had a larger wooden version!  The embroidery hoop die replicates actual hoops and can be used for many projects. The needle case die happens to be one of my favorites and have used this die so many times for various projects. Those that have seen my projects may notice that this one is the base for many of my banners. 

For this latest release I made this version of the cantilever sewing box. Added some decorations to the top, using the flowers and leaves cut from felt and wool.  


This made me decide to use the same extra thinlit dies for the embroidery hoop and the needle case for a trio of coordinating projects. 


There are three more ideas to share with everyone. 

The small tab bound book using the needle case die for the covers and pages.


The “love” wreath uses the inner circle from the embroidery hoop (three to four layered together), with leaves of cut from felt and paper, then applied around the circle.  Add some small felt flowers and a clear plastic circle with the word LOVE and a ribbon to complete the hanger.  


The last of course is another idea for a banner.  The needle case die is cut from layered foil that was cut and embossed with the Mandela 3D folder. These are fashioned into pockets to hold paper heart flowers in three sizes with added felt leaves and a couple of other die cut greens. 


Wednesday, December 22, 2021

A Christmas Star Shines

To continue with the theme of "little and small" good things, and one more share of "Comfort & Joy" for Eileen Hull's Fan Club.


So on "Christmas Eve Eve" here's an idea for making a small star book before the holiday celebrations start!


Materials

  • Tiny book die
  • Glitter paper 
  • Decorative papers, assorted (3)
  • Ribbon, closure
  • Double sided tape, 1/8" or 1/4"
  • Various flat embellishments


  • From chosen papers, cut a cover.  ( I used a gold glitter corrugated card stock because it was sturdy but still flexible.) Insert pages are cut from decorative paper sheets. 
  • Cut the papers for the inserts with the tiny book die and the trim accordingly to create the folded pages. NOTE: I cut papers for 5 pages. This is a tiny book and thinner papers work best when layering them for the star effect. Cut papers one at a time, instead of stacking together, so the crease does not cut through. ***On mat board it would create a score line for folding that you don't need for this project.

Sizes for the papers for the folded inserts are:

Make 5 sets with 3 layers

3” x 4 7/8”

3” x 4 1/4”

2 3/4” x 3 3/4”


  • Use a scoring tool to crease down the center of the cover piece (The fold line will run down the center between the 2 original scoring lines.) 


There are many places to find instructions and ideas for making star books online. If more detailed instructions are needed refer to finding videos online on You Tube or other sources.

  • Each of the three cut papers for each of the five sections will go together the same way. The sides edges can be glued or use double sided 1/8" tape to connect them all. 


  • When all five sections are complete, connect each of the five sections with either tape or glue along the outer edges, before adding the layered five page section to the cover.  


  • Decorate the pages as desired with flat embellishments like small die-cut images or stamped words or verses. 


The book can be opened to form the shape of a star. The ribbon tie can be used to hold the book open as well as a closure.  A tiny clip can be added to help in holding the book open if so desired.  By using a flexible type of cardstock for the cover will make the opening of the book and folding the covers back easier.


Tuesday, September 21, 2021

Ah Nature - Let It Be Your Inspiration


How can a "theme" like nature not be inspiring?  For this months post, it was suggested to use any of Eileen's dies to create a nature themed journal, other then the dies specific for journals. It seems my idea could not be made without the use of those journals dies! The thought behind this project was to make a version of a "star book" with a few twists. Like many of the projects I create, sometimes there is a need to change, or a want to change things up in the "making process". Crafting can sometimes bring a flow of ideas and then it does it's time to “go with the flow”!

This post will share more of the process with tips, hints and hacks to use as you create your projects with any or all of these versatile dies for any theme.  

Materials

Eileen Hull die, Folio Journal

Eileen Hull Notebook Journal

Eileen Hull Waterfall & Tag Thinlit 

Eileen Hull Journal card Thinlets Flower, Leaves, Hearts

Eileen Hull book plate Thinlit

Sizzix Thinlit Alphabet, #665182

Mat board

Decorative textured papers

Water color papers

Assorted decorative papers

Card stock, neutrals

Rinea solid foil, merlot

Double sided adhesive sheets

Double sided adhesive tapes

Gel Medium, matte

Verse stamp

Stamp ink, black permanent 

Distress inks, assorted, coordinating colors

Fabric strip 

Fine jute cording

Rubber bands

Paper brads

Brush

Dried naturals (optional)


BEFORE STARTING, PLEASE READ

The process of cutting and assembling the book will be given throughout the explanation of this project for the most part. Tips and hints used for this journal will follow the symbols *** and typed in italics. 

Choose papers for the covers and inside pages. ***Because of the Nature theme, the papers I chose where natural and organic looking. 


Cover the mat board for covers with double sided adhesive on both sides before adding you the papers and die-cutting the pieces.
***Because of the texture of the papers, the use of double sided adhesive gives a good bond. A wet adhesive could warp the mat board (but the warp may give the project even more of a natural look!)

Cover watercolor paper with a lighter weight paper for the pages, adhering with gel medium and allow to dry well before die-cutting the pieces needed. ***The papers used were more the weight of rice papers. If only white is available color with inks or dyes, use sheets of torn tissue paper, use sheets of paper towels that were used for wiping up paints or inks. Collage torn scraps to the watercolor paper.


Die cut the mat board pieces for the covers with the Folio die.  Die cut the watercolor papers for the pages with the Notebook die. ***When cutting the 2 cover pieces, the entire cover does not need to be cut since it will be trimmed at the end with that joins the covers and Six pages were cut for the narrow book that I made. (The explanation for this will be referenced further on.Refer to photo showing what parts will not be needed. 


When cutting the inside watercolor sheets, only the collaged or decorative paper side will be seen and these are all folded down the center of the die cut piece. The top folded edge will need to be glued or adhered to hold with doubled sided tape. 

To go along with the Nature theme, four of the inside pages will have a reference to the four seasons. ***On one side of each of these pages, 5 cuts from other light weight decorative papers were made  with the Waterfall die in coordinating colors. Fold the papers in half and place the folded edge just to the inside of the lower edge of the waterfall die, hold in place with washi tape to keep it from moving, cut shapes. Tag shapes are cut from a solid neutral colored card stock.  They can be inserted into the pocket that is created when the decorative papers are cut on the fold. **Refer to photo for cutting.**  


For the opposite side of the page, die cut letters from an alphabet die for each season and add to the top with gel medium. Later a poem, verses, photos or quotes can be added onto the page as well as the tags if desired. 


Each of the page inserts will be adhered together except for the ones at the front and back of the book remaining unattached. ***Connect one to the other with either glue (and clamping till attached) or use double sided adhesive tape on edges of top, front side and bottom to hold together. (Do not add any adhesive to back/folded spine.) 

ASSEMBLING THE COVERS AND ADDING PAGES

Pierce or punch a small whole into the center of both front and back covers to push a paper brad through.  

Use rubber bands to attach each of the pages to the back cover. Add a strip of double sided tape down along the inside and outside of the narrow spine of the back cover.  Remove backing paper on each.  Add each page, with rubber band at center fold, to the book spine with the bands fitting into the top and bottom slots. ***Carefully place each rubber band onto the spine so they line up next to each other on the adhesive front and back. Press the bands into the adhesive strip on both sides of spine to hold in place. **(They will overlap each other at the area of the slots on the top and bottom.)**  


To add the front cover, align the holes of the front and back covers on the spine. Add one paper brad into the added center hole to the inside and spread the ends to hold together.  Add a paper brad into the top and bottom holes from the inside spine to the outer spine and spread the ends open to hold the covers in place.  ***Before adding the covers, the inside pages may have to be clamped into place firmly with binder clips or similar to compress the pages tightly. This should help in adding the covers with the paper brads. 

View of open book and pages


FINISHING THE FRONT COVER

For additional texture, if desired, add a few pieces of dried natural elements to the cover with gel medium. Layer interesting elements to the center of the front cover.  This project used a scalloped cut (Journaling card) of Rinea merlot foil sheet, topped with a Book plate cut in a heavily textured brown paper, finishing with a stamped verse as the top piece.  Flowers and leaves are cut using the dies from other Journaling cards. Color added with inks and glued to the cover.  Add  closure of any type to the book.  ***The closure for this project is a strip of torn cotton fabric that coordinates with the colors of papers for this project.  It’s layered between the pieces on the front cover in a way to have it wrap around the opening of the book and back, then tied in a bow at the side spine.  


TIPS & MORE

The double sided tapes used are 1/8”, 1/4” and 1/2”.

Using mat board for pages would made them too thick to place in a one thickness spine, making a heavy weight watercolor paper a better choice and also sturdy.  

Using mat board for the covers makes a sturdy book but not easy to turn back on itself and tie like a normal “star book”.  An idea to make this possible would be to use something different. A heavy canvas, paper leather or heavy interfacing could be flexible substitutions for the covers. 

Sunday, July 25, 2021

Christmas In July Ornament Idea


With this latest release of die by Eileen Hull for Sizzix comes great shapes. For now the Ornament Box will be the one to work with for this project.
Materials

Big Shot

Eileen Hull Sizzix Ornament box die

Mat board

Decorative papers

Foil paper (Rinea papers) 

Double sided adhesive tape/sheet

Tissue paper/napkin

Foiling sheet, gold

Liquid adhesive for foiling

Gel medium

Brush

Ribbon 

Glue

Paper cutter

Gold cording

Artificial greens

TIPS

**** Just a few ideas tips of materials and the process used in creating a slightly different version with the Ornament Die***  

A decorative tissue paper was used to cover the circle die-cuts, but napkins or thin decorative papers or even fabric could also be used. Also if desired, cover the mat board with a material of choice on one side and add a foil paper or use the same type of material on both before continuing to cut them with the die.  Foil by Renea were used in this project. 

Refer to photos for cuts and sizes that were used to complete this project.  A small piece of styrofoam was cut to fit inside the inner box to hold the artificial greens in place, but that is optional. The same design could be used to hold small treats instead.  They can be hung on a Christmas tree or could be used at table settings for holiday entertaining.  The bottom of the circles could also be trimmed off to be even with the bottom of the box to stand flat for table settings. 

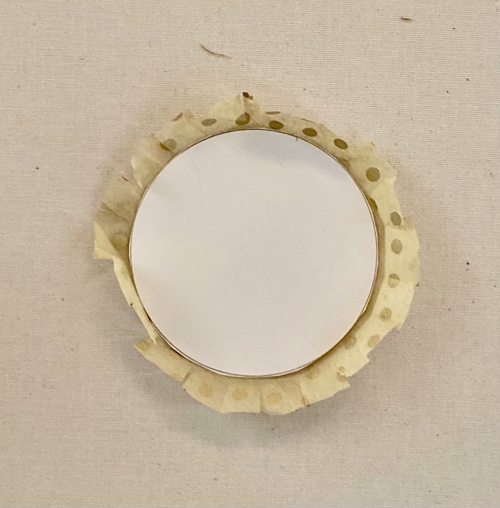
Paper covered inside box & front and back of covered circles


Constructing the Ornament Box

  • Die cut two circles from mat board
  • Die cut two circles from foil paper (red Rinea foil). It can be backed with double sided adhesive before die cutting or can be glued into place on the back side of the tissue covered circles.
  • Die cut one of the box component from mat board.
  • Refer to the photo that shows where to trim the four diagonal ends off the piece. 

  • Cut two side pieces from a piece of mat board that measures approximately 1 1/8” wide x 1 7/8” high.


  • Using glue or double sided adhesive tape, assemble the open box shape.
  • Cut decorative paper to cover the box shape. One piece is cut approximately 6 3/8” long x 2 3/4” (this will cover the larger sides of the box).  It a second piece of paper approximately 1” x 8 1/2”. (This will be attached to the narrow sides, bottom and over the top edges of the box piece.) 


  • Cut circles from decorative tissue or napkin for covering the mat board circles. Cut the pieces approximately 1/4” larger then the circle piece.


  • Apply the tissue to one side of the circles using gel medium and brush. Clip around the tissue so the extra tissue can bend around the edge to the back side; use the gel medium to adhere the extra tissue in place. Brush the front layer of tissue with another coat of gel medium and let dry before continuing.

  • Adhere the foil circle to the back side covering over the tissue edges; press in place well.
  •  When both circles are covered and the inner box shape is covered, created the 3 dimensional ornament by gluing the box between the circle shapes.
  • Coat the hanger shape die with foiling adhesive. Dry to tacky and rub on the gold foiling. Add another layer if needed also applying to edges and back sides. Glue into place at the top of each circle shape. 
  • Die cut 2 or more of the zigzag design from foil covered mat board
  • Apply the zigzag shaped, foil covered pieces onto the circles in any desired fashion. 
  • Insert a small spray of artificial greens into the box 
  • Add a length of cording through the hanger and knot.
  • Tie a length of ribbon into a bow and add on front near the top, near hanger.

Decorate away!