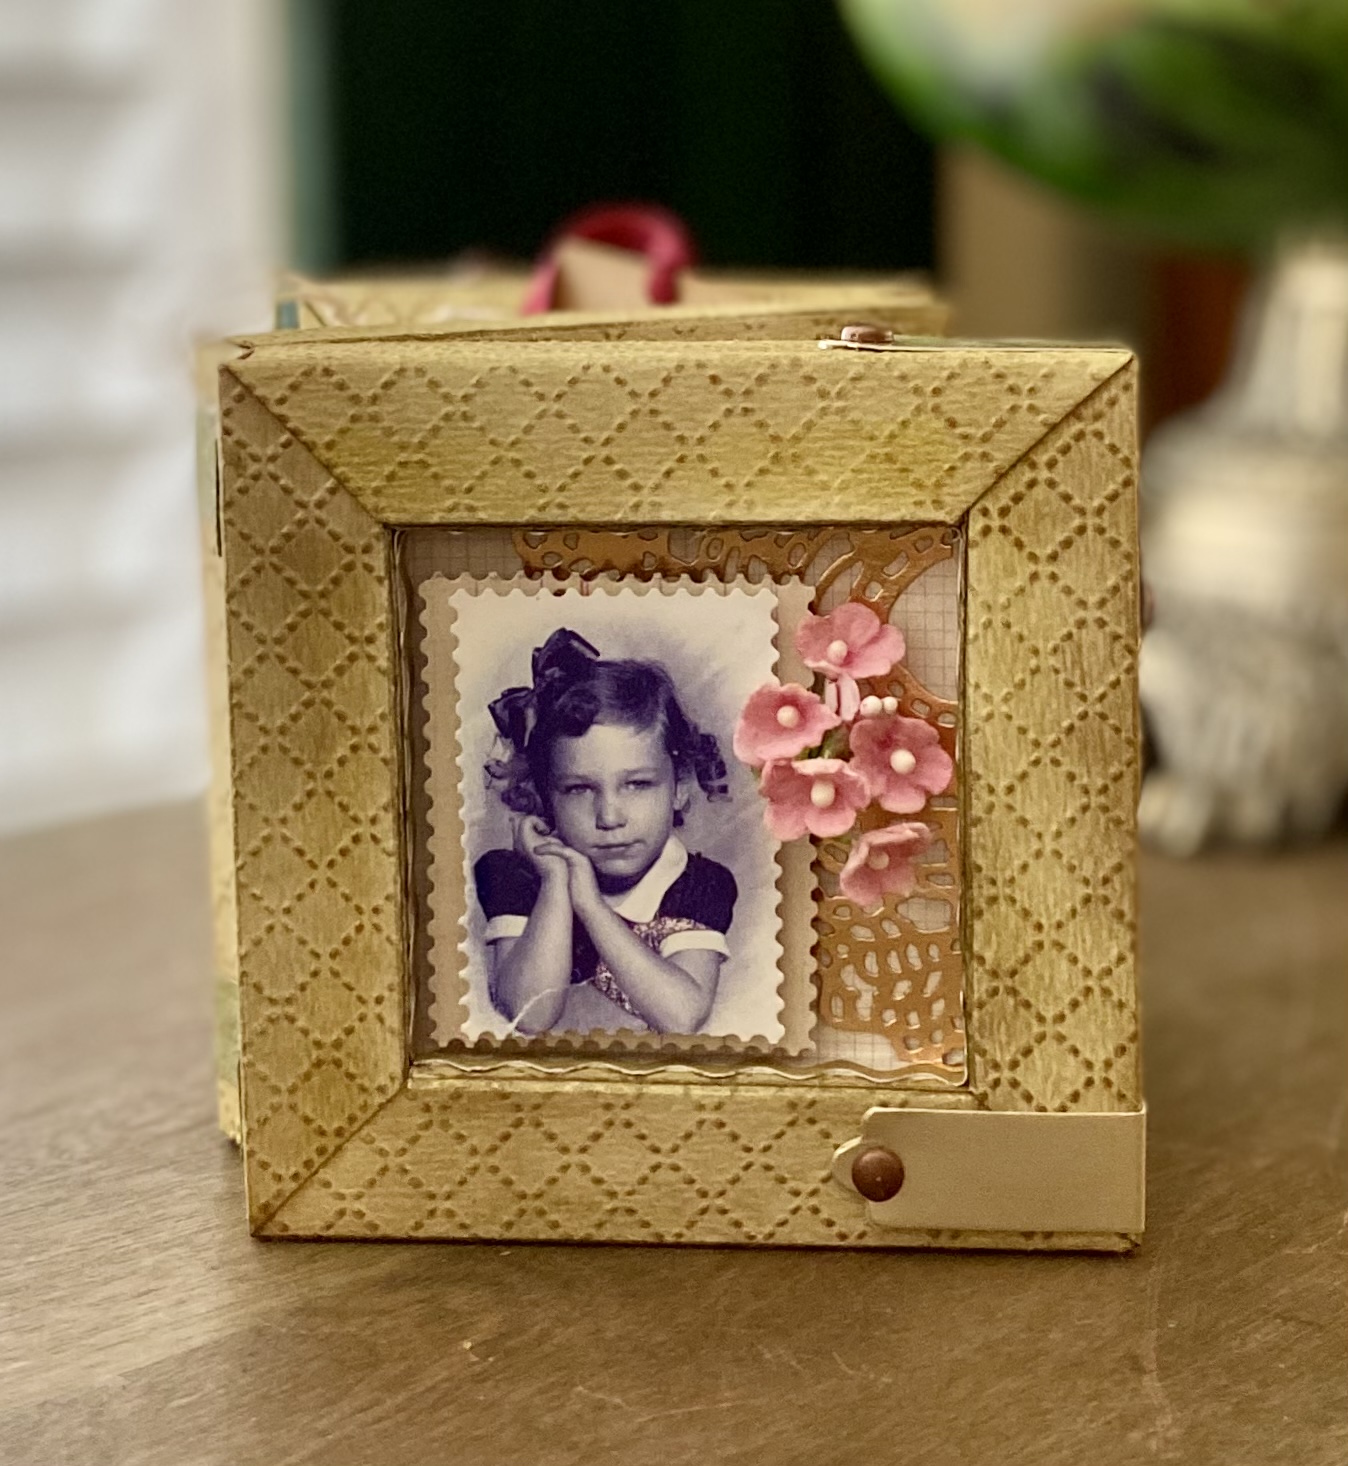
Working with the newest release of dies by Eileen Hull for Sizzix has been a fun! Different from most of Eileen’s scoreboard dies, but still with loads of creative opportunities.
 |
| Thinlit dies vs. Steel rule |
With this post I will share sample ideas and some learned tips since working with them, but not typical instructions and steps. As with anything new, be it ideas or tools, there is a "learning curve". That being said fit’s been enjoyable and a bit addictive working with the new dies.
The important part to note is that they are constructed from heavy weight papers and not mat board. I have been doing some experimenting with various types of papers to construct the frames and sure that more will continue.
The first project that I created with the frames were three graduated sized squares to hold dimensional arrangements. The ideas for dimensional designs or arrangements are endless. Stay simple by matting photos into the frames for displaying in groups, or get creative with dimensional creations. The basic frames were made from watercolor paper and then collaged with old dictionary pages. This process came with some learning and tips to share.
 |
| Collaged Shadow Box Trio |
The next project was to use them to assemble a hinged, fold out photo display. This can be kept simple too with just photos or add a bit of dimension into the frames. More ideas using similar construction are in the works now.
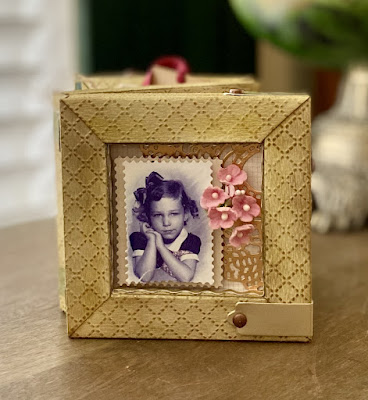 |
| Embossed Accordian Frames |
 |
| Hinged Accordian Frame |
 |
| Inked frame components |
 |
| Embossed, inked, shaded components |
 |
| Decorative dividers for inserts |
While working with these thinlit dies and assembling the frames, I have learned a few tips that I would like to share. NOTE: We may all interpret directions slightly different, and find our very own methods that may differ somewhat from actual directions. Find what works for you! Remember the learning never stops!
I feel one of the first thing really needed when constructing the frames, of any size, should be to understand the weights of different papers. I’ve used different weights, from 90# to 140# for most of the frames. These weights are considered heavy weight papers. A few papers that would be good to use are:
Sizzix papers (approximately 90#)
Bazzill papers (approximately 100#)
Distress watercolor card stock (118#)
Distress heavy stock (110#)
Watercolor papers by various companies (90# to 140#) found at craft or art supply stores
Links to a site that help explain the weights of papers:
Found on Scrapbook.com website - YOUR GUIDE TO PAPER WEIGHTS
For the frames I have created so far, I have used papers from 65# to 140#.
I have also experimented with thin paper board like white poster board sheets from craft stores and gift boxes and cereal/cracker boxes. Materials like this would probably be considered as extra heavy weight. I likely wouldn’t use anything heavier then the cereal boxes. Of course if using such materials they would have to be covered by either painting, inks, mixed media finishes or with collaged papers. NOTE: Another tip that may be helpful - if using something extra heavy - after cutting the four pieces, it may help the folding by going over the score lines again using a scoreboard and scoring tool. I found this step useful.
 |
| Gesso covered frame from packaging |
 |
| Frames from heavier packaging materials |
 |
| Thin poster board, covered with decorative paper |
 |
| Frame from file folder |
When using a paper with a patterned design, I have found it necessary to be aware of the direction of the design before cutting the four pieces needed to make the frames. An all over design can be cut without a worry. There are designs were we immediately know the pattern direction and others that may not be as easy to notice. Here are some examples and how to cut the four frame pieces:
 |
| Assorted patterned cardstock |
 |
| Cardstock with all-over pattern |
 |
| Obvious directional pattern paper |
 |
| Directional print pattern paper |
Another experiment was with embossing the papers before constructing the frames. Here again some experimenting took place. I found better results when using embossing folders that are not the 3D, thicker folders. It seemed to me that they distorted the paper pieces making them difficult to fold properly. The folding lines do disappear from the deep embossing; you can replace them with a score board and bone folder. Give it a try and see what results you may have. I cut the four pieces needed for the frames before embossing. Also the coloring (by ink or paint) was added before the embossing. NOTE: Highlights can be added after embossing if desired. Use inks, dry brush paint or metallic rubs.
 |
| Embossed frame pieces vs. plain |
 |
| Difference of embossing folders |
Again remember that frames may be made from plain papers or file folders or gift boxes/cereal boxes can be painted or use texture paints alone or with stencils to add design or texture to the frames. Collage with bits of thin papers and gel medium. Gesso was added to any packaging with printed designs before decorating with any method desired.
 |
| Frames made from various 85# cardstock |
***The next thing that I will be experimenting with is making different size frames by slightly changing the measurements of the frame pieces. That can be accomplished by trimming from the straight edge of the four cut frame pieces. ***
STILL TO COME ... Two ideas still in the works will combine the Book Box die with a frame and the other will use the Folio Journal with two frames.
 |
| Book Box die with Shadow box frame insert |
 |
| Folio Journal with two shadow box frames inside |