Monday, December 19, 2022

Top Three Picks Of The Year

To end the year 2022 with the task of choosing my three favorites of projects, made with the Eileen Hull Designs designs ... the questions is HOW?  My answer ... not easy!

Looking through photos of the projects I found that it wasn't always the projets that made it stand out to me but in many cases it was the process. For me, at least, it an also be about the material chosen and/or the process used to end up happy with the finished project! 

Starting out with a fabulous base design can to the success and that's what we get with the designs from Eileen!

This year gave us wonderful bases to work with.  There is the Geometric Box, the Sunflower Skinny Mini Book Box, the Skinny Mini elements thinlit, the Card Caddy, the Shadowbox Frame set and elements, the Book Box die, the Snail Mail thinlit and embossing folders with each chapter release.

What I enjoyed most is the using them all together in a number of different ways. Also trying various materials to create interesting projects with these 2022 designs. 


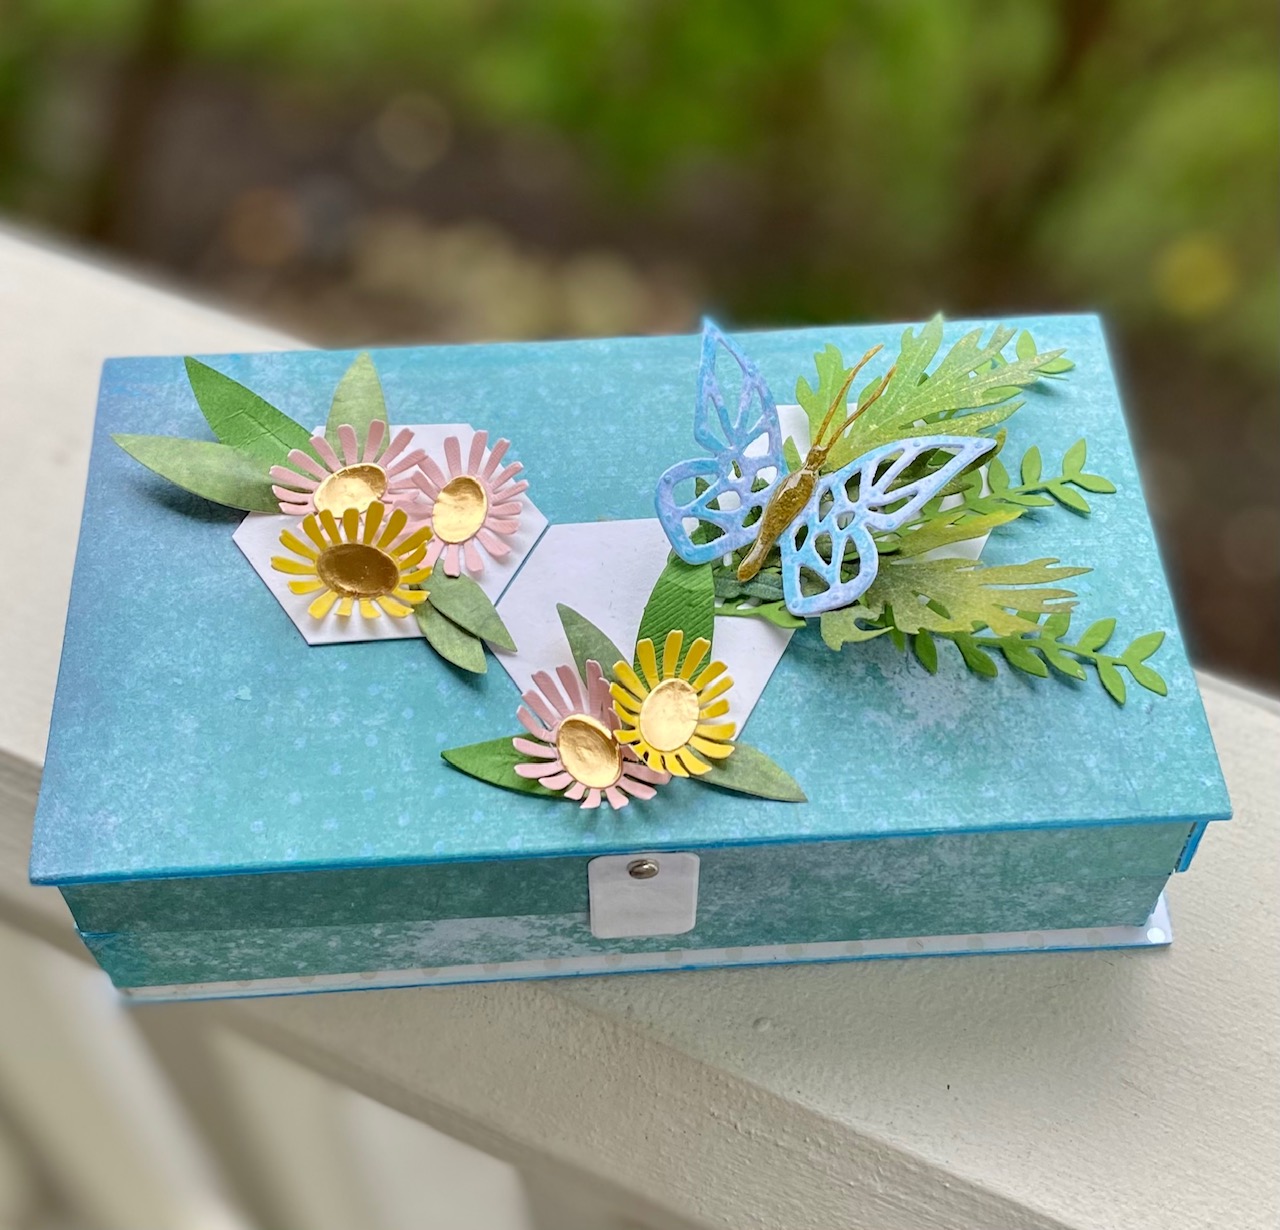
The three picks I made are these.  The first is a white-on-white container made with the Geometric Box.


The second is a fabric covered journal made with the Book Box die.  Fabric was printed using a gel plate.


The third was was a triple dimension scene with the Shadow Box frame die and other Sizzix dies.


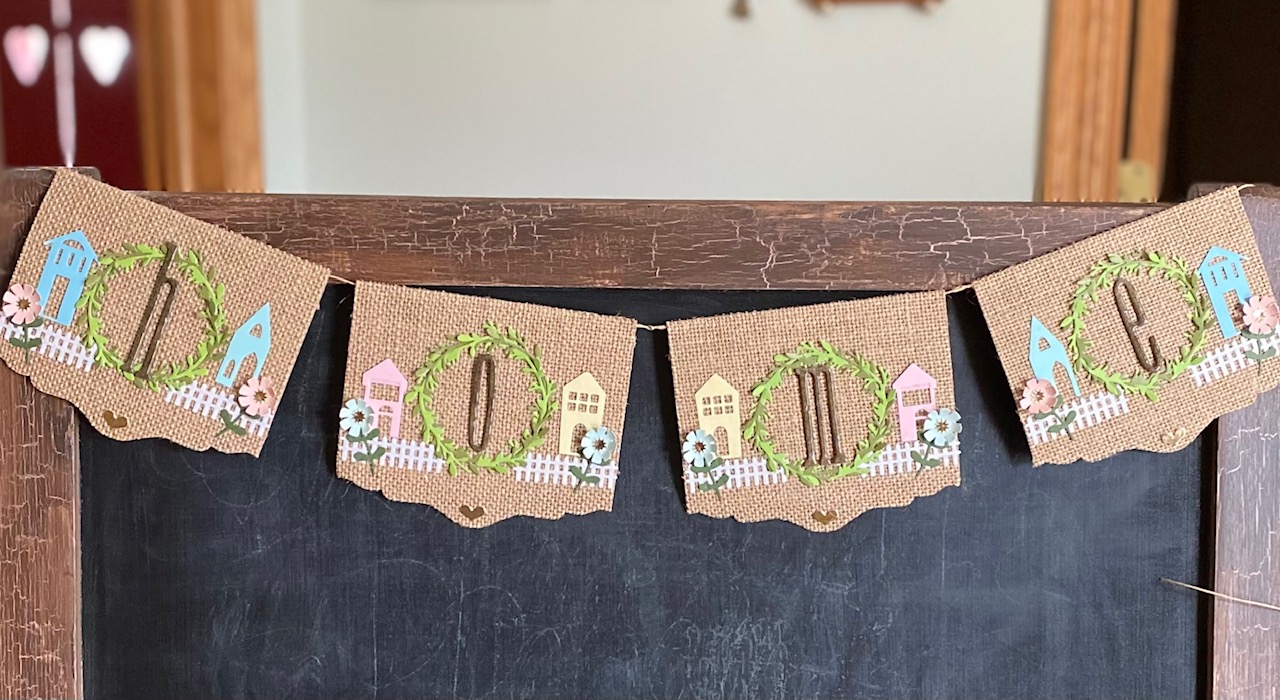
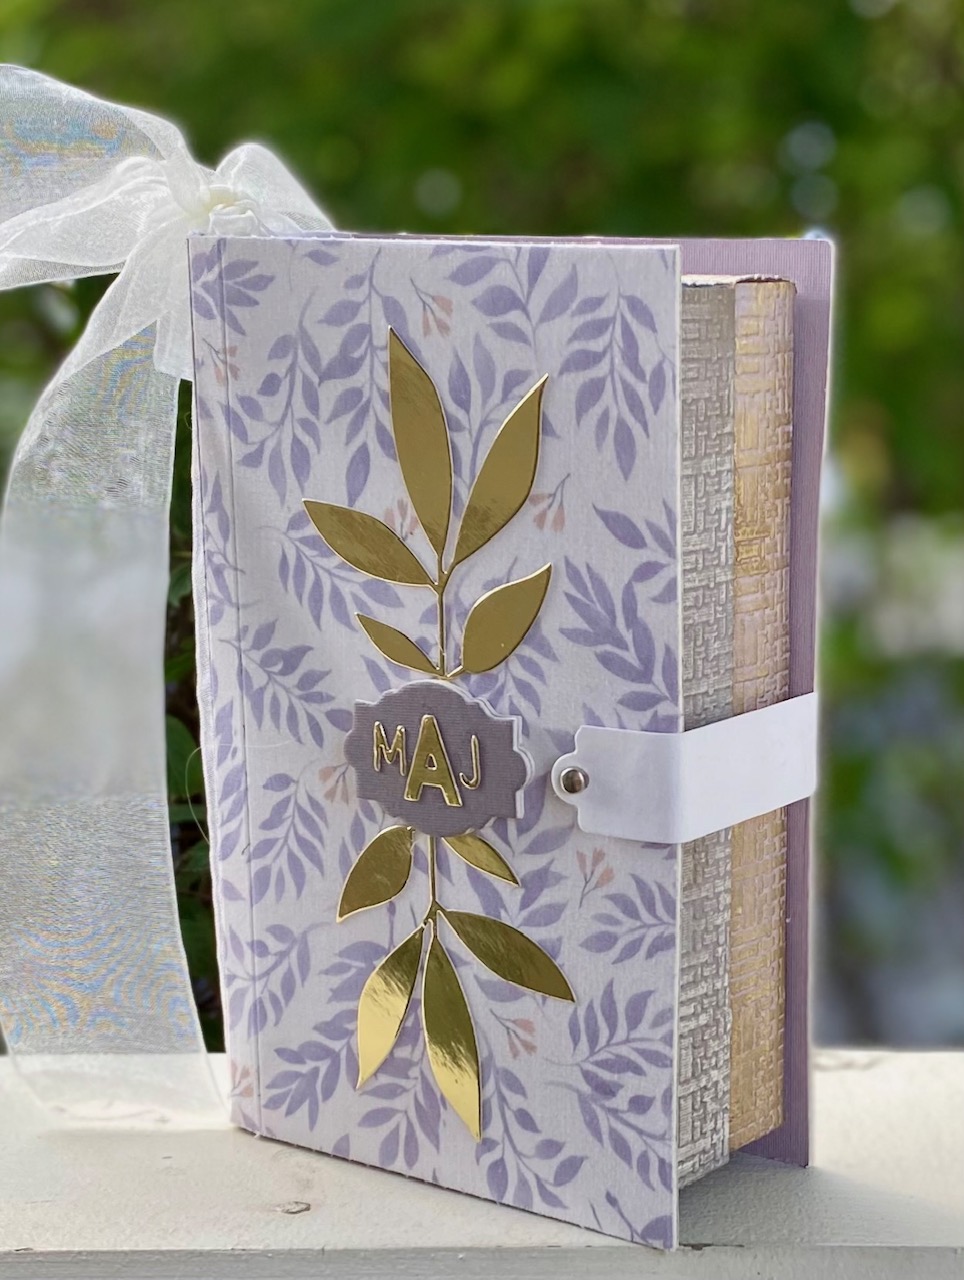
  Some of the other projects created with the 2022 Eileen HullSizzix dies through the year.


Wednesday, November 16, 2022

Comfort & Joy 2022 Gift Idea

Give some comfort & joy!  Little handmade gifts given in a handcrafted gift box can make an impact.  Here's a little idea for the makers out there. 

Using Eileen Hull's Gift Box scoreboard die from Sizzix will create the nicest square box to hold many small gifts.  Here is the box made with festive holiday papers. It will hold a pair of handmade flannel hand warmers. The box also has its own little handle on top for opening. It is fashioned from the label shape that is part of the die.


Select papers for covering the mat board. 


Adhere the decorative papers, using double-sided adhesive, to the mat board.


Die-cut the pieces for the gift box from the covered mat boards. Construct the box.


MATERIALS


Gift Box die

Small Tag die

Mat Board

Decorative Papers, 2 sheets

Double-sided adhesive

Flannel fabric

Muslin fabric

Seeing machine

Thread, to match

White rice

Raffia

Seam binding

Distress stain

Paper brads


  • Cover 2 sheets of mat board with the decorative papers on each side of the board using double-sided adhesive

  • Die cut  2 panels for making the gift box

  • Cut out label from from the same die

  • Construct the gift box 

  • Fold over the front flap to tuck under to the inside top of box,

  • Glue the scallop folded flap to the front edge of box at opening flap. 

  • Create a handle from the label piece, by scoring a fold line.

  • Pierce holes for paper brads in the folded over ends of the label.

  • Using a small curved bottle or tube to add a curve to the middle section of the mat board label. 

  • Center the handle onto the top of the gift box and pierce holes through the holes on the label handle, through the top of the gift box. 

  • Add the handle by applying a small amount of glue near the holes and then affixing the handle in place with the paper brads. 

  • Spray a length of seam binding with desired color of distress stain. Scrunch the binding leave to dry. 

  • Create a small bow; glue into the edge of the top handle.


INFORMATION TO MAKE HAND WARMERS  


  • Cut four pieces flannel to measure 4” x 4” squares.

  • Cut four pieces of muslin to measure  3 3/4” x 3 3/4” squares.

  • Stitch around the muslin squares with a scant 1/4” seam. Leave a space open on one side about 1 1/2” in length.  Leave as is or turn the square inside out.

  • Fill the muslin, stitched squares with white rice.  Do Not over fill.

  • Hand stitch the opening closed.  

  • Stitch around the flannel squares the same as the muslin squares, but leave one side completely open.

  • Insert the rice filled squares into the flannel
NOTE: These instructions are given as a guide. Nothing is "written in stone"! There is information to be found online for many ideas to make hand warmers.


VERY IMPORTANT  

  • Hand warmers will be briefly heated in the microwave before using.  
  • Do not use sparkly or shimmery fabrics or thread. 
  • Be sure that your chosen fabric and thread are made from 100% COTTON, and no way metallic in nature. 
  • Synthetic fibers can catch fire with repeated heating in the microwave.

To use the hand warmers:  Heat them in the microwave for 20 to 30 seconds.  Depending on the wattage of the microwave will determine the time. (Example- for a 950 watt microwave, heat the hand warmers for 30 seconds at full power.)


Monday, October 24, 2022

Double Geometric Cork Basket


The newest Chapter 4 release from Eileen Hull for Sizzix included the Geometric Box. We’ve been seeing and sharing wonderful ideas with the unique design. I chose to share, as a blog post this month, another version of a sample I created for the release. 


I wanted to share this idea with others. I didn’t want the box to be rigid as it would be but using mat board.  Still needed a base that would cut well and fold easily along the score lines. Using a heavyweight watercolor paper between two sheets of decorative card stock gave the box flexibility and the sturdiness I had hope for.  

When making this double basket I was able to include the use of of cork sheets by Sizzix as the top layer of the geometric boxes.

MATERIALS
  •  Big Shot machine
  •  Geometric Box die
  •  Watercolor paper, 140#
  •  Sizzix Cork roll
  •  Decorative card stock
  •  Double-sided adhesive sheets
  •  Mat board, small square 
  •  Glue
  •  Sizzix thinlit dies
  • Distress ink
  • Cosmetic sponge 
  • White gel pen (optional)
  • Cord, for handle (optional) 


THE PROCESS OF CONSTRUCTING THE BOXES

  • Choose a decor paper for outer layers.
  • Cover both sides of the watercolor paper with double sided adhesive. 

  • Cover 2 squares of mat board with cork and decorative paper and double sided adhesive.
  • Remove liner paper and layer cork to one side of watercolor paper.
  • Remove liner paper on other side and layer with the decorative paper.
  • Die-cut 4 box pieces of the layered papers NOTE: These will create 2 boxes.
  • Cut two box bottoms from cork covered mat board.
  • Fold all the box pieces on the score lines.
  • Remove a thin layer of the paper from the joining edges of each piece.
  • Glue two of the box pieces together to form the box.
  • Complete the second box. 
  • Glue the bottoms into the boxes.
  • Align the boxes next to each other. 
  • Matching the point of the triangle and the straight edge of the bottom together.
  • Apply glue to one of the boxes and press the other to it to attach them together. NOTE: Double sided tape could also be used to attach them together but align them carefully


EMBELLISH THE BOXES AS DESIRED
  • I chose to ink along the edges of the top and bottom of the pieces and also along the angled folds.  
  • I die-cut some shapes using thinlits from the cork sheet. 
  • Glue the cut designs onto 6 of the boxes triangles 
  • Lightly add some color onto the thinlit designs with a paint brush with your choice of coloring. NOTE: These shapes can be colored before adhering to box.


Optional - Use a white gel pen to create dashes around the triangles 
                 Thread jute cord through holes punched into the sides and knotted for a handle


Monday, September 26, 2022

Cards For The "Spooky" Season

Sharing some card making with the help of Eileen Hull's new Skinny Mini Card Box and other Sizzix tools.


Two card boxes are made using mat board covered on both side with coordinating, decorative card stock. Handmade cards and envelopes are made for each box. This new box is the perfect size for holding mini slim style cards.  Four seasonal cards, with envelopes are made for each box. NOTE: The box can likely hold 4 to 6 cards with envelopes. 

TIP: Make sets of cards for different seasons or occasions.  Add the handmade cards in a a lovely Skinny Mini box to match the occasion.  These would be a great idea for gift giving. 


MATERIALS

Skinny Mini Book Box die,

Mat board (2 pieces per box)

Snail Mail thinlit die

Decorative papers (2 designs per box)

Double-sided adhesive

Plain white card stock 

Contrasting, solid paper for middle layer

Various decorative papers for top layer

Stamps

Inks

Small, decorative dies for embellishments

Alphabet dies

White copy paper (for envelopes)

Paper trimmer

1/8” doubled sided tape

Scissors


Making Process 


Making Layered Mini Slim Cards

  • Cut card stock weight paper for base of cards, measuring 6 7/8” x 6 1/4”
  • Middle layer, measures 5 7/8” x 3 1/4”
  • Top layer, measures 5 5/8” x 3”

Paper sizes for layers


Layers

  • Cut all the papers for each card.
  • Use a scoreboard and bone folder for adding the center fold to each card. 
  • For layered papers, some ideas are to trim the edges of the layers with decorative scissors, tear the edges or machine stitch around the edges. 


Adding extra embellishment layers with various materials as:

  • Stickers
  • Paper cut-outs
  • Stamped images
  • Buttons
  • Ribbons


When creating card fronts on any size card, feel free to use a variety of materials for adding layers and interest.  Here are some ideas:


Monday, August 22, 2022

Extra Space Storage Caddy

One of the newest dies designed by Eileen Hull for the latest Chapter 3 collection is one called the Card Caddy.  It is a scoreboard die that, makes it possible to create substantial holders with many purposes.  Here is a version with extra storage to be used on a desk or craft table.


View inside storage caddy 


The very first project I created was a mail caddy. It’s constructed by making three caddies and connecting them together. The design of this die is open to many combinations for books, albums and various holders.  

The project for this post uses my original idea but taken to an expanded look. 


By connecting finished caddies together, you are able to configure some lovely decorative containers for many different storage needs.  Make them to fit you color scheme for a crafting area.  The side pieces that close the caddy sides, can be used to make dividers; add one or more or none.  A handle can easily be added for carrying if desired.  


Let the making begin...

  • It all starts with choosing papers for covering the mat board. 
  • Cover each side of the mat board with coordinated papers of choice with double sided adhesive. (NOTE: it is possible to cover the mat board with papers or using napkins and collage medium. This process may cause the mat board to warp but it can be straightened by pressing between parchment paper and heavy books.)


  • Cover 5 pieces of mat board for each of the 5 caddies. One extra piece of mat board may be needed for the side pieces for each caddy, or extra dividers if desired. 
  • Die-cut the caddy shape  and sides from covered mat boards.


  • Construct the caddy boxes, adding the two sides to each. (NOTE: Some of the paper layers on the tabs can be carefully removed, if desired.)


  • Complete the construction of FIVE caddies. (NOTE: three for the center section, two more that will be the end caddies on each side.)


The 3 center caddies. Add one more on each side. 

Finishing the storage caddy

  • (Refer to top view photo for caddy alignment and handles.)
  • Add twisted wire handles, if desired.


  • Add embellishments of choice, such as fibers, ribbon, trims, flowers, etc.
  • Add feet to the bottom corners, if desired. 

IDEAS:

Instead of covering the mat board with decorative papers on each side, try napkin collage, old magazine page collage, painted mat boards with stencil designs, texture paint on the outside facing side, gel print the boards, fabric cover the boards boards on one side. Cover one side of mat boards with vinyl contact sheets  to give a protective surface to the inner side of the caddy boxes.  

The width of one finished caddy is slightly wider then the width of three caddies glued together. When connecting them, as in the project shown, then extra width is not really noticeable because of the embellishments wrapped around the entire piece,  if desired, trim a scant 1/8” from each side of the die-cut piece before creating the caddy box.  


Materials Used

  • Mat board 
  • Coordinated Decorative papers
  • Double-sided adhesive sheets or roll 
  • Heavy duty glue (Beacon 3-in-1)
  • Extras for embellishments 
  • Ink
  • Wire


Monday, August 1, 2022

Chapter 3 Release Time - Let The Ideas Flow


It’s that time again!  Eileen has new Sizzix products out and let the creativity begin!  There are two scoreboard dies, one intricate thinlit die and a 3D embossing folder in this release.  Here are images of each new item!


Now to share ideas, that I had the so much fun creating with the new Chapter 3 collection. 


Starting with the card caddy die, here are four ways I used this die.

Card Caddy x 3


Card Caddy & More


Card Caddy Banners


The skinny mini book box die is another versatile die and here are three ways I used it.  

Skinny Mini Sewing Box


Skinny Mini Double Card Box


Skinny Mini With Shadow Box Frames


After making these seven initial projects as samples for Eileen’s new release, I continued with a few more ideas.  

Skinny Mini Thinlit Candle Surround


Card Caddy Holiday Idea Box

Skinny Mini Folder Holder


In the next few weeks I’ll share more details on a couple of these projects. NOTE: Most if not all of the projects created, I have used new and older design elements from various collections of  Eileen Hull's for Sizzix. Some projects also have various other components from all from Sizzix added for embellishments. 


Link to Eileen Hull’s Sizzix Hub: LINK

Link to Eileen Hull Designs blog: LINK