Showing posts with label #mysizzixstory. Show all posts

Thursday, February 29, 2024

Hop By To A New Release Coming Your Way


Let's hop right into a new season with new ideas, new inspiration and NEW releases from Eileen!

A NOTE FROM EILEEN - 
I'm so happy to introduce this brand new collection of mine from Sizzix! As always, I try to create designs that may be used together but also stand alone. There are four pieces in this set.
The Storage Box is an XL ScoreBoard die measuring 4” square, the largest square box yet! This box is constructed with a removable top and may be used in many ways, such as organizing desk and office supplies, as a gift box, storing craft supplies and packaging for baked treats.
The Mini Book is one of my favorites because you can create a book using this die in an evening, and use up your scraps in the process. This book measures 3 3/4” x 2 1/4” and comes with a strap/handle and tiny label for the book cover. It also makes a great bag topper if you fold it in the middle and also will hold a business card. 
There is a new Thinlits called Faux Postage- the full panel is designed to fit on a 5” x 7” card and creates a fun postage stamp effect. You can also cut (or tear) each stamp apart and use the individual pieces as a miniature work of art! This coordinates with similar dies: Snail Mail (A-2 card size) and Mini Slimline (6” x 3”).
The Lace 3D embossing folder is so amazing! It’s a new LARGE size measuring 8 1/2” x 5 3/4”. It works great on bigger journal covers, card backgrounds and on home decor pieces. This is created from vintage lace that I have collected and there are so many ways I want to use this!
***There’s a giveaway too- join us on the live and hear how you can win…
You can find these dies in your local scrapbook stores- if they don’t carry them, ask them to order.

 PS, can also be found in her Etsy shop and show her your support! 


Now onto how I chose to use the new dies ...

THE STORAGE BOX 

Basket made using the larger part of the storage box


Box made using two of the smaller top sections of the storage box

View of the top of the box


Storage box made from distressed corrugated board


Yellow box topped with a hand felted flower and vintage wooden button


Box made with 2 tops, covered with balsa wood and crepe paper rosette flower

NOTE: This new die has already become one of my favorites! It has so many possibilities like  most of Eileen's box dies. Beside being a great base box to decorate it has functional uses in many ways.  Made a few bottom bases and the tops out of plain mat board for holding tools, brushes, pens and such!  

TINY BOOK

Tiny "bits and pieces" book

Inside of book

Front, back covers and spine with dangles


Password book - embossed foil 

Inside embossed foil password book

NOTE: The "bits and pieces" book has a tab hinged spine inside, with scrapes making pockets and tucks to hold tiny bits using the "faux' stamps" die that embellished with tiny bits.
The  Password book cover is kmade from foil that is fused with iron-on adhesive, which makes the foil sturdy, but still flexible, and able to be embossed.  Plus, who doesn't like a cute tiny 
book!


ADDITIONAL PROJECTS


Foil embossed pouches hold a collection of felt flowers

NOTE: The pouches or pockets are die-cut from foil that is fused together. After die-cutting they are embossed with the 3D Lace large embossing folder. There is a light coat of black Luster Wax applied to the surface.  Felt flowers and leaves are die-cut from older Eileen Hull dies and create a colorful addition to the pouches, along with a little butterfly.  These can be made as single little door knob hangers or to  hang anywhere.  Make two or more for a shelf or window banner. 


A single "welcome" banner/flag to hang on a door, in a window or on a wall

NOTE: THe welcome sign starts with a felt background cut using the cover of the large journal die (this must be cut using the Big Shot Plus machine). The next layer is fused foil that is painted with white paint or gesso, then embossed with the 3D Lace folder, and finished with Rose Gold Luster Wax added to the top. All elements used are ALL various dies from Eileen. The background, behind the wreath is the tiny book die coered in a simple print paper. Leaves are fabric, that was fused togerther with a iron-on fusible. Added extras are yellow felt flowers, pink hearts, white paper fences and paper houses, finished off with the word "welcome".
Card fronts using the Faux postage thinlit parts

NOTE: This faux postage thinlit is becoming another favorite! Use as one whole cut or tear into smaller sections or individual pieces and let the creatiity flow!

Hope these projects help give some inspiration on what is possible with Eileen's dies. I like to challenge myself with new materials to use with her dies. Some of the projects here show that!  Think outside the box and give something a try, it doesn't hurt ... it may lead to a better idea, something new and different,  but most of all your creating ... go for it and have fun!  I'm looking forward to being inspired by everyone.

Monday, January 29, 2024

Die-cut Dream Catchers

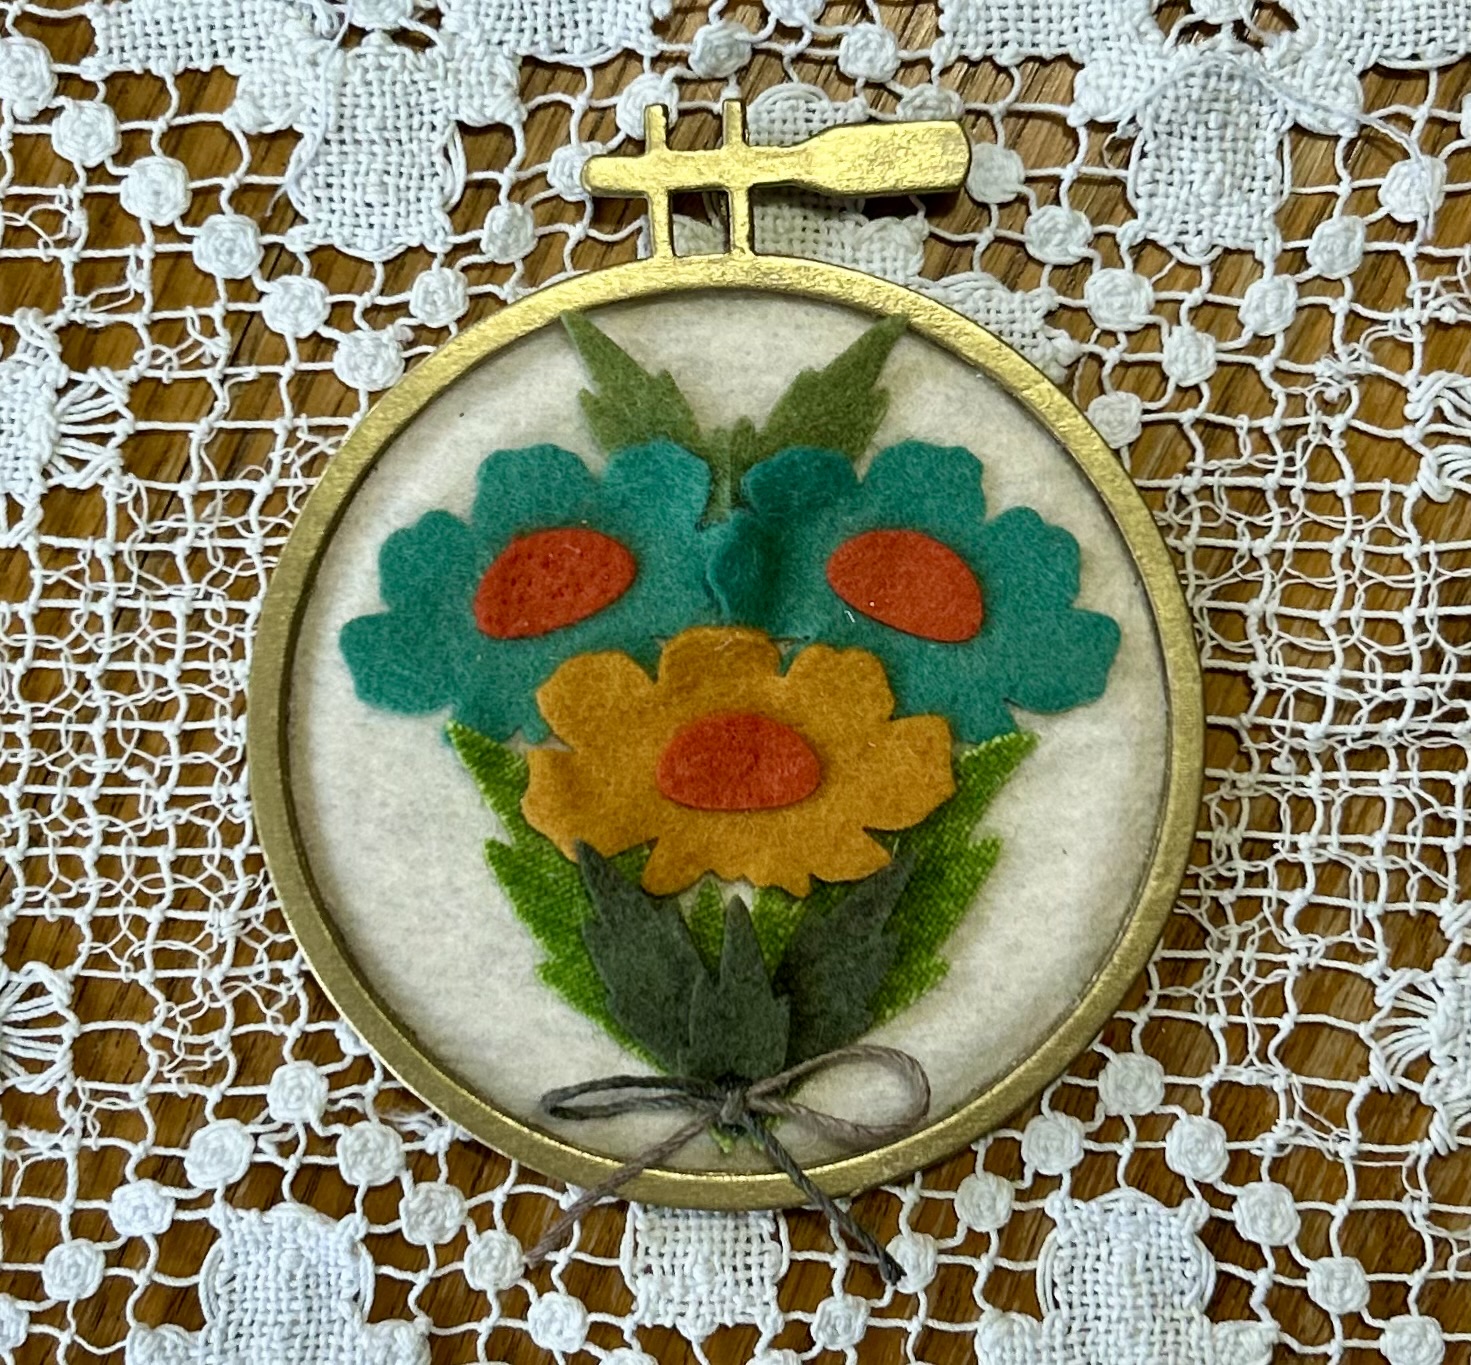
With the latest die release from Eileen Hull Designs for Sizzix, ideas are flowing! After making several projects with the three re-released dies more inspiration started. I chose the Embroidery Hoop die to play around with for this post. 

Take a simple circled shaped die-cut and see where it takes you! Dream catchers and sun catchers just happened to be something I began to think about. I made a little project for the release earlier this month and sent it off to Eileen as one of the samples. 

Here it is - I consider this more of a "sun catcher".


That got me to thinking about how else to use the cuts from this die. Originally I was going to make a traditional dream catcher and use string to make the inner design, then the idea came to see how can I make one but use dies instead.  


HERE'S HOW THIS PROJECT IS CREATED - 

Creating the hoop

I cut 4 to 5 hoops from stiff board. I chose to use packaging from cereal boxes to cut the shapes. It's inexpensive and most have boxes like this that can be recycled for such projects. The hoop cuts are all glued together to form a thicker ring. The glued circle hoop shape could e painted but I chose to wrap it. For one I used a white thin, flat cording and the other a narrow (1/2") fabric. After tightly wrapping each with the two different materials I had to decide what and how I would add for design to the center. 

This is what I used for wrapping the hoops - 


Creating the center motif -

To make the center designs I went to some materials that again could be recycled. The list is patterned tissue paper, paper towels saved from cleaning up other art projects and cereal bag packaging. The two different saved papers are fused between two layers of the cereal bag packaging. The process of fusing with cereal bags can be found by searching online. NOTE: Maybe in the future I can make a short video of the process. From this fused material, I then die-cut patterned shapes using two Sizzix dies.  One is the thinlit, Heart Mandala (665587), the other is an old steel-rule die called "Vintage Doily" (657420). They are adhered to the back of the hoops with glue.  For added embellishing, I die-cut pieces from felt using a simple leaf shape and cutting along the sides to give it the look of feathers. These are then attached to hang from the bottom of the dream catcher.

NOTE: There are numerous ideas online for ideas for making these in a variety of different ways, and instructions to string them the traditional way. 

Dream Catcher - (Found this explanation online.)  "Native Americans believe that the night air is filled with dreams, both good and bad. The dream catcher, when hung over or near your bed, swinging freely in the air, catches the dreams as they flow by.  The good dreams know how to pass through the dream catcher, slipping through the holes and slide down the feathers so gently that the sleeper does not know they are dreaming. The bad dreams, not knowing the way, get tangled in the dream catcher and perish with the light of a new day."


Monday, January 1, 2024

New Year, New Release of New Dies (Sort of) with Loads of Inspiration

  Eileen Hull Designs has a new release of dies to share. Actually it is a te-release of some vintage dies.  Here are images of the dies. I was a fan of these dies the first time around.  One in particular as has been a very favorite of mine, more about that to come.  


The cantilever sewing box brings back memories for me too because my mother also had a larger wooden version!  The embroidery hoop die replicates actual hoops and can be used for many projects. The needle case die happens to be one of my favorites and have used this die so many times for various projects. Those that have seen my projects may notice that this one is the base for many of my banners. 

For this latest release I made this version of the cantilever sewing box. Added some decorations to the top, using the flowers and leaves cut from felt and wool.  


This made me decide to use the same extra thinlit dies for the embroidery hoop and the needle case for a trio of coordinating projects. 


There are three more ideas to share with everyone. 

The small tab bound book using the needle case die for the covers and pages.


The “love” wreath uses the inner circle from the embroidery hoop (three to four layered together), with leaves of cut from felt and paper, then applied around the circle.  Add some small felt flowers and a clear plastic circle with the word LOVE and a ribbon to complete the hanger.  


The last of course is another idea for a banner.  The needle case die is cut from layered foil that was cut and embossed with the Mandela 3D folder. These are fashioned into pockets to hold paper heart flowers in three sizes with added felt leaves and a couple of other die cut greens. 


Saturday, October 21, 2023

Halloween Treats Without The Calories

Had some fun with creating a few new handmade (non-caloric type) treats for Halloween again this year. With the projects completed I figured it was time to do some sharing, so I went back and found some previous makes and decided to make a post of all Halloween related ideas!

NOTE: For each of these projects Sizzix dies were used to create them. The majority of projects here use dies designed by Eileen Hull for Sizzix, but several other dies and products used are also from other designers, all for Sizzix. 

Here goes - 


Tuesday, April 25, 2023

New Ideas To Share With Chapter 2 Dies

With the release of the new chapter 2 dies by Eileen Hull Designs from Sizzix just a couple of weeks ago, I have continued to have fun with finding more ways to use them. 


On the day of the release I shared with the "live" audience two projects that I created for the purpose of sharing that day.  All other projects were sent off to Eileen before the release to share  at the Name/Creativation show in Columbus, Ohio that she was attending. 

I'll share the two projects here but will be including the instructions for making the little banner, Three Pocket Posey Holder. The pockets are so easy to make! It's what you put inside that may take up your time if you decide to all "handmade"! You can also go the easy way and use purchased flowers and greens.

When I work on new projects my first thought usually is what material will I use!  When it comes to making any banners I like to use varied materials. Many times I will include both paper and fabric. For the project here I'll show both a paper version and a fabric/paper version.

Materials

Fabric/Paper (for pockets)

Sculpting Foam, Paper, Felt (for flowers and greenery)

Envelope, Journaling Card & Window Die

Various Sizes dies for flowers and greenery

Glue

TIny stapler

Cording or ribbon for stringing banners

Fusible (such as Pellon Steam a Seam or Thermo Web Heat n Bond)

Iron

Pressing board

Purchased greenery (optional)


***The process for using either paper or fabric for the envelope pockets, to create a banner are the same in the construction, as are the making of the flowers and greenery. When using fabric I will use either Heat n Bond Lite by Thermoweb or Steam a Seam by Pellon. Both are a fusible and sewable. NOTE: ALWAYS check if a fusible can be machine sewn, otherwise you can gum up the sewing machine if sewing is included!

The fusing process:

  • Cut fabric, paper and fusible the same size. (Approimately 6"  9")
  • Cut enough of the 3 layers for each envelope pocket that you want for the banner.
  • Set iron at the temperature suggested in the instructions for the fusible used


  • Remove the backing paper from one side of the Steam a Seam fusible OR lay the fusible side of the Heat n Bond down on the wrong side of the fabric.  Press the fusible onto the fabric piece. (following product recommendations). 
  • Allow to cool before proceeding.
  • Remove the backing paper, align the fabric fused piece to the paper (or another piece of fabric, if desired). 
  • Press the layers together to fuse.
  • Die cut the envelope from each fused, layered piece.
Three Fused Layers (fabric. fusible, paper)
  • Create the envelopes by folding the top flap down to the inside. 
  • Run a bead of glue along the "V' shape of the flap. Press in place. NOTE: Don't add glue to the whole flap. Leave an opening to thread cord or ribbon through the envelope tops for stringing the together. 
  • Glue the small flaps on each side of the bottom in.
  • WIth a small stapler, staple at each tp, side of the lower flap. NOTE: Refer to photo. A small paper brad could also be used or a small amount of glue. 


Finishing:
  • Cut flower and greenery with deisred dies, from papers or other materials.
  • Arrange the die cut pieces into the banner envelope pockets and glue them into place. NOTE: I crinkled up a small piece of tissue paper and placed it into the lower pocket for added dimension before placing the greenery and flowers
  • Add something of your choice to string the pockets together. 

Two Versions of the Banner

Pocket Envelope Banner Made with Fabric

Pocket Envelope Banner Made with Kraft Card Stock


Pocket Accordian Book