

Materials
Big Shot
Eileen Hull Sizzix Ornament box die
Mat board
Decorative papers
Foil paper (Rinea papers)
Double sided adhesive tape/sheet
Tissue paper/napkin
Foiling sheet, gold
Liquid adhesive for foiling
Gel medium
Brush
Ribbon
Glue
Paper cutter
Gold cording
Artificial greens
TIPS
**** Just a few ideas tips of materials and the process used in creating a slightly different version with the Ornament Die***
A decorative tissue paper was used to cover the circle die-cuts, but napkins or thin decorative papers or even fabric could also be used. Also if desired, cover the mat board with a material of choice on one side and add a foil paper or use the same type of material on both before continuing to cut them with the die. Foil by Renea were used in this project.
Refer to photos for cuts and sizes that were used to complete this project. A small piece of styrofoam was cut to fit inside the inner box to hold the artificial greens in place, but that is optional. The same design could be used to hold small treats instead. They can be hung on a Christmas tree or could be used at table settings for holiday entertaining. The bottom of the circles could also be trimmed off to be even with the bottom of the box to stand flat for table settings.
 |
| Paper covered inside box & front and back of covered circles |
Constructing the Ornament Box
- Die cut two circles from mat board
- Die cut two circles from foil paper (red Rinea foil). It can be backed with double sided adhesive before die cutting or can be glued into place on the back side of the tissue covered circles.
- Die cut one of the box component from mat board.
- Refer to the photo that shows where to trim the four diagonal ends off the piece.

- Cut two side pieces from a piece of mat board that measures approximately 1 1/8” wide x 1 7/8” high.

- Using glue or double sided adhesive tape, assemble the open box shape.
- Cut decorative paper to cover the box shape. One piece is cut approximately 6 3/8” long x 2 3/4” (this will cover the larger sides of the box). It a second piece of paper approximately 1” x 8 1/2”. (This will be attached to the narrow sides, bottom and over the top edges of the box piece.)


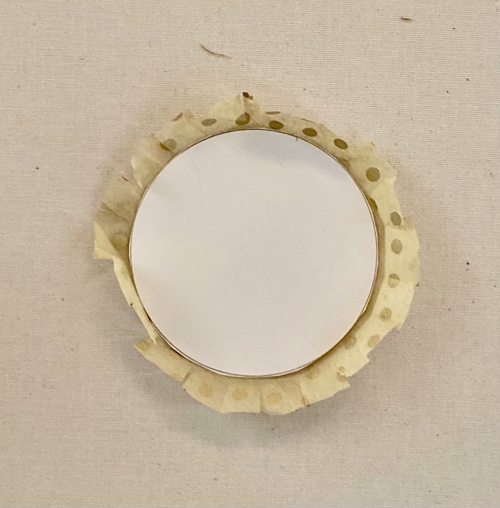
- Cut circles from decorative tissue or napkin for covering the mat board circles. Cut the pieces approximately 1/4” larger then the circle piece.

- Apply the tissue to one side of the circles using gel medium and brush. Clip around the tissue so the extra tissue can bend around the edge to the back side; use the gel medium to adhere the extra tissue in place. Brush the front layer of tissue with another coat of gel medium and let dry before continuing.
- Adhere the foil circle to the back side covering over the tissue edges; press in place well.
- When both circles are covered and the inner box shape is covered, created the 3 dimensional ornament by gluing the box between the circle shapes.
- Coat the hanger shape die with foiling adhesive. Dry to tacky and rub on the gold foiling. Add another layer if needed also applying to edges and back sides. Glue into place at the top of each circle shape.
- Die cut 2 or more of the zigzag design from foil covered mat board
- Apply the zigzag shaped, foil covered pieces onto the circles in any desired fashion.
- Insert a small spray of artificial greens into the box
- Add a length of cording through the hanger and knot.
- Tie a length of ribbon into a bow and add on front near the top, near hanger.
Decorate away!
As always so many great tips, tricks and hacks Madeline! Love the bright colors>3
ReplyDeleteThanks so very much Eileen! As always, fun to create with!!
ReplyDelete