Eileen Hull die, Tiny Book Case
Eileen Hull die, homemade alphabet, thinlit
Eileen Hull dies, book plate & labels, thinlit
Various Sizzix dies, 660694, 663607, thinlit
Fabric, lightweight denim
Fusible lightweight interfacing, Pellon soft-flex
Iron
Sewing machine
Thread
Hole punch
Eyelets
Eyelet setter
Jute cording, thin
Raffia ribbon
Metallic-like card stock
Coordinating card stock and decorative paper
Foam adhesive
Metallic foil, patina and copper
Velcro thin clear fasteners
Artificial/real elements for placing inside pockets.


INFO, TIPS & IDEAS TO CONSIDER BEFORE BEGINNING
- When creating with die-cut shapes by Eileen, I usually like to find ways to combine a variety of materials within the projects. Experimenting is fun!
- When working with fabrics it is helpful to use some type of backing for many projects to add body to the fabricmif it helps the design.
- The type of backing can change depending on the project. There are a variety of fusible and backing adhesives that could be used.
- If the design calls for sewing with a machine, use a backing/interfacing that is meant for sewing. (Some interfacings can “gum up” the sewing machine needles.) Be aware!
- The pockets can be filled with any variety of elements. Use all dried naturals or purchased plant-like stems or flowers or a mix of both. If ambitious, create plant stems or flowers from die-cuts.
- This banner can be made to be reversible if desired. Use the same fabric for both sides or a different color/type for the other.
- To connect the pockets, they are tied together using a raffia type ribbon, but thin cord, jute, or ribbon can be used.
- Gather all supplies before beginning.
Instructions
- Select fabric for pockets. Cut 2 pieces for each pocket needed of the main fabric and backing.
- Add a backing of choice to the main fabric for each piece.

- When complete, die-cut each fabric backed pocket piece using the the Tiny Bookcase die.

- After cutting all pieces needed, mark each for trimming away part of the section with the "V" and the side box flaps. Refer to photo.

- Once all pieces are marked, trim the "V" section along the mark. Then fold the edge over, so the folded top edge of the pocket aligns with the top of the two side box flaps, as in the photo.

- Press the folds of each piece before trimming away the side box flaps. Then stitch on the sewing maching across the top edge of each about 1/4" from the fold.
- Match up two pieces, pin if necessary to hold in place. Stitch around the sides and bottom "V" to form each pocket. Use about a 1/4" seam around the edge.
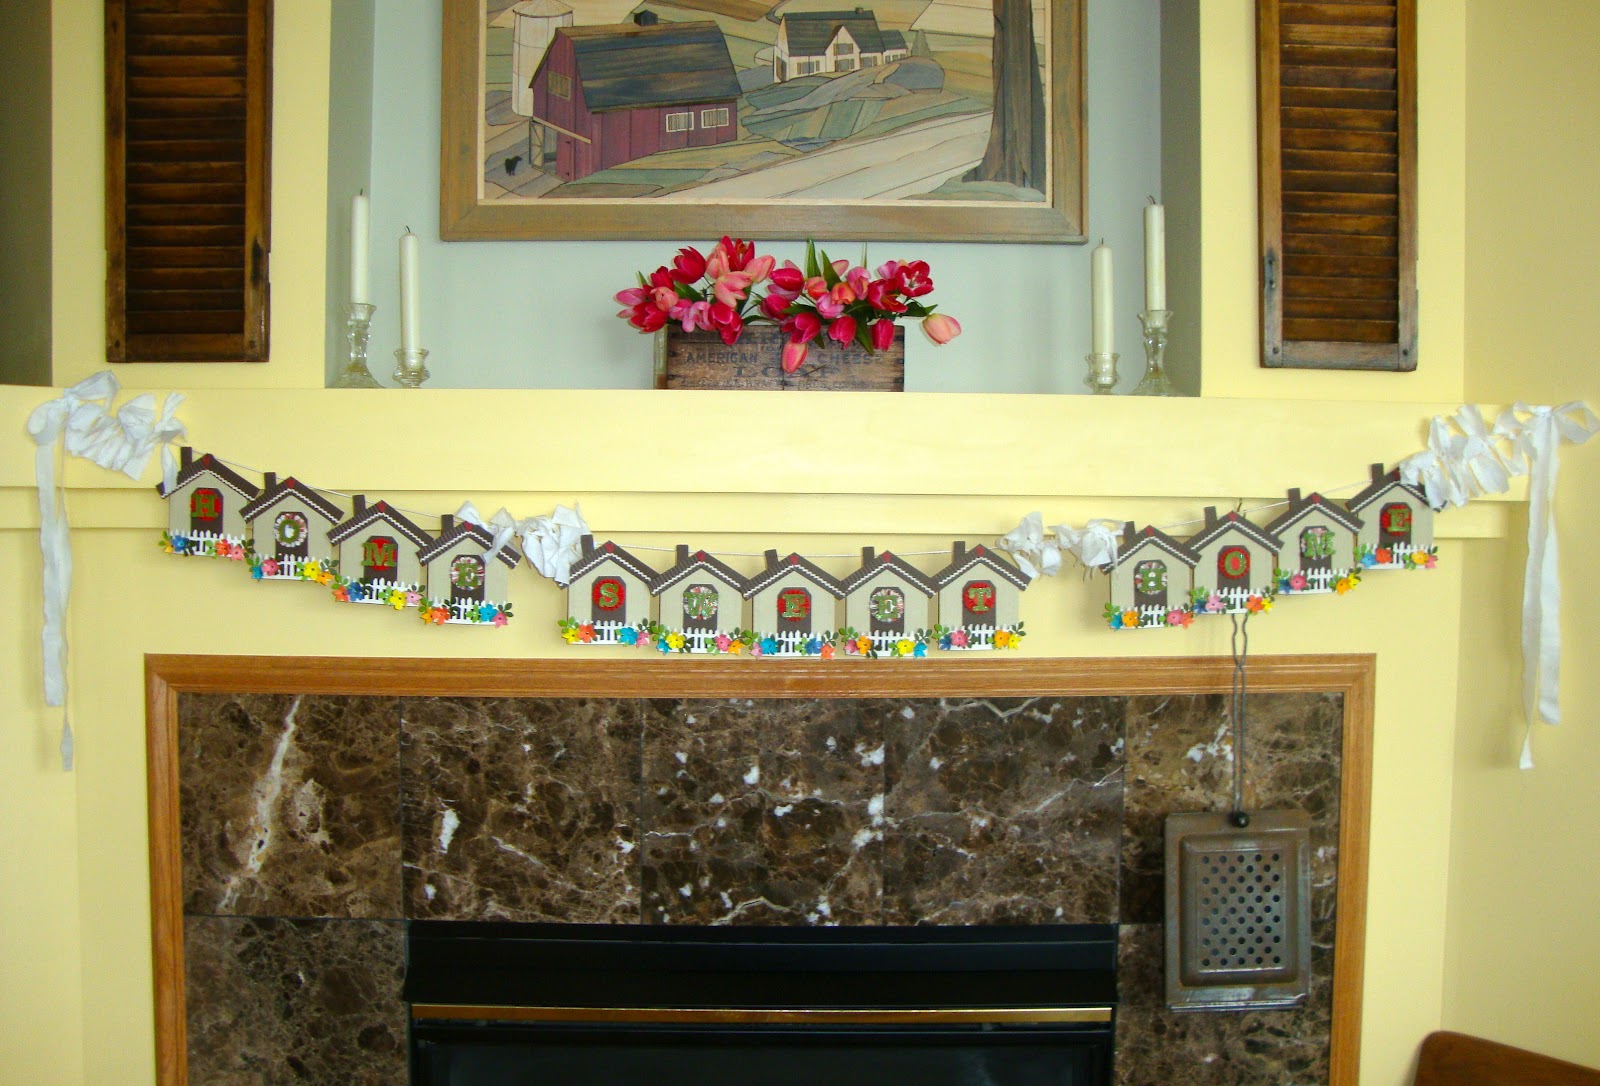
- When all the pockets are formed, punch a hole with a tool and add an eyelet into each hole. These holes will be for connecting the pockets together with raffia, cord or ribbon. Refer to the photo to see the eyelet placement and the tying between the pockets.

- Add a length of thin jute cording to the last eyelet on each end before also tying a bow in each end eyelet. Refer to photo. The cord was looped through the eyelet, then one end of the cord was fed back through to tie a knot to hold it in place.
- Use clear, thin velcro circles for holding the letter labels on the front of the pockets. Align them on each as shown in the photo. This is side of the velcro circles that are a bit stiffer then the reverse piece.

- To create the letter labels, I choose to layer together a decorative paper and a solid card stock with a foam adhesive sheet together. Die-cut the shape for labels from the layered papers. NOTE: I choose to make 2 sets of changeable words, using a different die design for each. Plus used a different top paper.
- Each of the labels are glued onto a die-cut frame, cut from metallic card stock.
- To make the letters to spell out the words, metallic foil was placed onto one side of foam adhesive, cut and then placed in the center of each label shape.


- Add the other side of the clear thin Velcro dots to the backs of the letter labels. Press them into place onto the pockets over the opposite Velcro dot.


Now find a good spot to hang the banner and bring a little bit of the great outdoors inside!